
 |
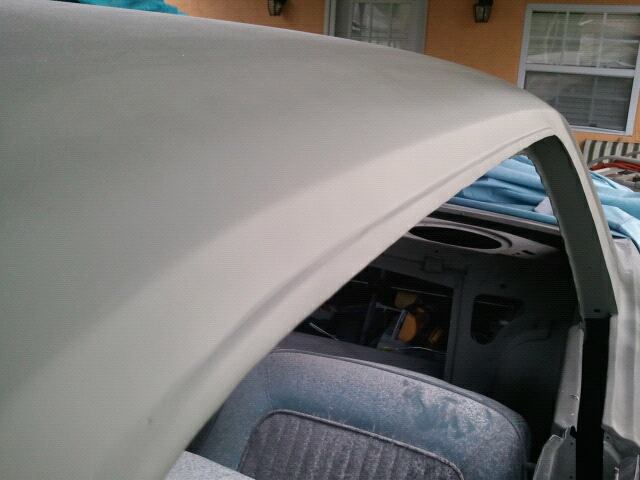
| Most classic cars have a drip rail. This is the channel that runs along the top edge of the door and roof. This was actually a way for the factory to save money, time and add a little rain protection to the interior. This is actually the seam where the roof and the sides meet. While it does stop rain from pouring in the door jamb when you open the door, its also a main cause of sever rusting on a lot of cars. The drip traps water in the joint and rots away the sheet metal, for this reason ours was pretty much unfixable. They do sell replacements and that is an option, but we opted to remove it completely. Preventing any more damage and adding to the sleeked out custom look, we want to achieve. |

 |
| Don't cut off all the drip rail at once, as you could possibly loose the shape of the roof. Instead cut in 6-12" sections, welding each section as you go along. We quickly found large area filled with filler from previous owners experiencing the same problem of rain water being trapped in the seams. To weld this seam, make a series of small spot welds a good distance apart making sure not to distort the metal. This is especially important along the top of the door. to much heat can cause the metal to warp causing your roof to loose shape. |


 |
| Taking your time, not rushing. The project actually doesn't take all that long. Finish the welds on this side took roughly a couple hours, to get to grinding stage. Normally I would recommend a 4" grinder to knock down the high stuff and finish off with a diegrinder. But, because of the fear of excessive heat i recommend taking the extra time of using the diegrinder the whole way through. When completely welded, you should have about a 100 small welds as seen above. |

 |
| After grinding, a little filler and some block sanding should get you pretty close to completed. A gloss black coat will show you any inconsistencies or waves in your edge. Once spotted, you can add or take out any more material you need. I recommend using a three step process. Stepping down your sandpaper from 80-160-220 grit, to get it ready for primer. |


 |
| When complete. You will have a smooth custom look that adds that little something extra you don't see in everyone else car and for not much money. |
No comments:
Post a Comment