

Our 1968 mustang project is far from the heap it was when we got it. But we're not settling for the sloppy handling of yesteryear after putting all that time into restoring the body. We took a look at the several options available and finally decided to go with the mustang II for a few reasons. It offers the most options for motor choice, while giving us the option of manual rack(like we're doing) or power assisted steering rack and also allows us to remove the bulky shock towers freeing up valuable space in the engine compartment. Another great thing about this is the fact you can run springs, coil over (what we opted for) or air ride with minimal changes.
First was selecting the parts. Now there are several companies that make complete kits and all are great (like Heidts) but we choose to build our own kit so we could exactly what we were looking for. We went with fully adjustable qa1 coil overs with a sbf cross member and tubular control arms. This included a manual rack and pinion and prothane bushings.


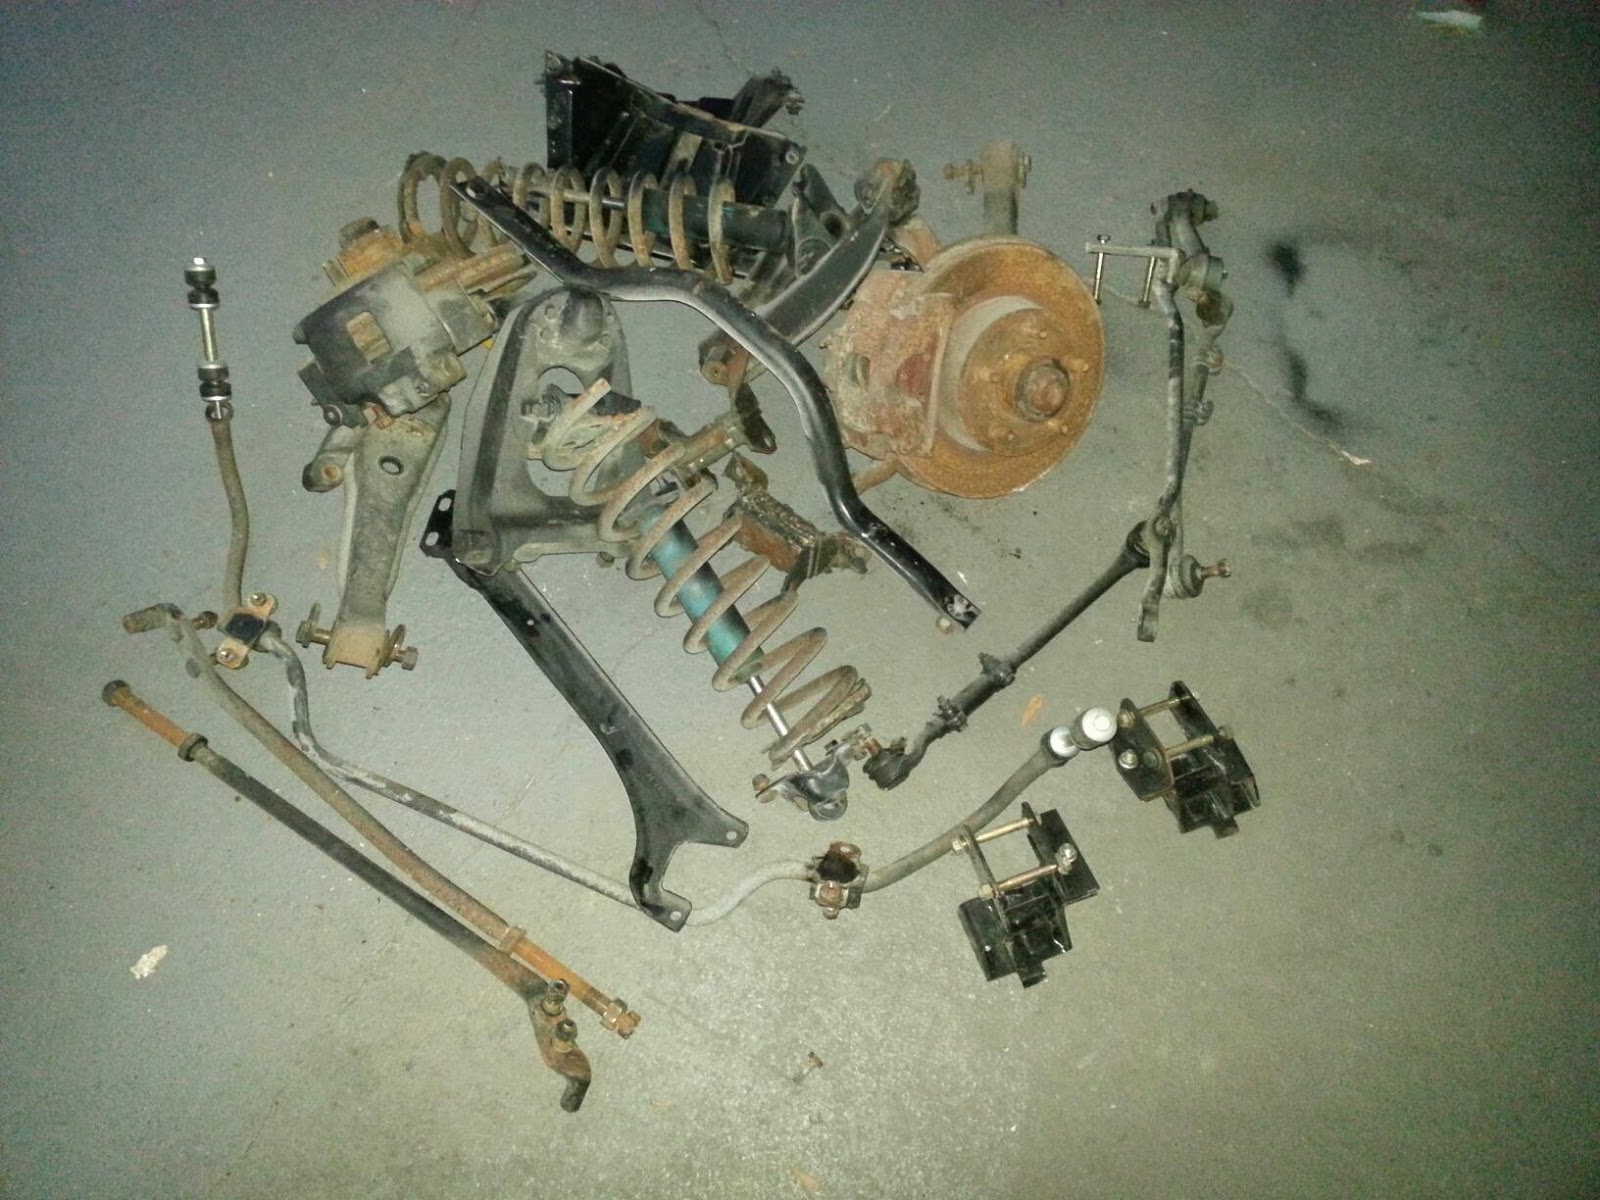
Why did we want to go through the hassle of replacing a suspension that works? Well to say the mustang is a handling dream would be a gross overstatement. Our ride had old tired and worn bushings, tie rods and sloppy gear box. We could have just replaced it but in my opinion why spend the same for factory when you can get better at the same cost(well okay maybe a little more then factory cost). Now this is/was the first time we attempted a setup like this and while we thought we were thorough and got everything included in the "complete" off the shelf kits. We learned even those kits don't often include small but important pieces so beware if your a bargain eBay shopper...


Next we removed the shock towers using the reciprocating saw and a cut off wheel. We used the old shock tower bolt pattern as a basic guide to cut. You just want to make sure you remove the material that's over lapped so you can flush weld the new panels. With towers gone we cleaned up our frame and check for and weak spots (from rust or previous accidents) and we were okay. The new suspension requires boxing of the frame which is a good idea and all kits tell you such. But what we found out it they all require notching of the frame as well something we couldn't find listed on any site. The issue is the shock are at such an angle they don't clear the frame so the frame must be notched. This isn't a huge ordeal but we wanted to let you know since it us required (at least with our cross member).


Using the factory cross member as a reference point. We took measurements to make sure that our cross member was straight and true. This is probably the most nerve racking and difficult part (once this is done the rest is cake). Then the frame is marked for notching (a small half circle) and cut. To box the frame we used the supplied inserts and just tacked everything in place before final welding anything to ensure proper fitment. You don't need a high end mig or tig welder to do this project. We completed this using an off the shelf Lincoln welder able to be bought at any Lowe's or home depot. After several hours of welding and yoga style contortions our frame is boxed and cross member welded.


Okay so earlier I hinted about things they don't mention and now the things they don't include. While most kits we saw include the rack. None supply the necessary steering shaft, joints and your factory steering column will need to be modified with a special kit to accept a steering shaft if you don't use an aftermarket one like we did. Also our kit did not include any bushings, or tie rods although some kits do. Also while our did include hardware we replaced several bolts with varying sizes to better fit our needs for a cleaner look. You don't have to do this we just didn't like the large bolt shafts sticking out. Some kits include inner aprons our didn't but we were able to fabricate some fairly easy using some thin flat sheet metal. I recommend putting a small bend or some beading to strengthen these patches kit or not. Lastly our kit came with motor mounts for a sbf as promised but they are not the entire mount only the lower half. You will still need to purchase the upper half that bolts to the motor.


We installed our rack first, then the upper and lower control arms and finally the hubs. Our lower control arms required some modifications to accept our qa1 coil overs since these were originally setup for springs and shock. To do this we simply cut off the spring perch and welded in our coil over one. Then painted them a nice gloss finish using a good brake fluid resistant paint.


All said in done the car looks great and will handle amazingly. Plus we can use most auto part chains for replacements since we have newer rack-n-pinion instead of that old out of date gear box.

 | |
    |
No comments:
Post a Comment