Showing posts with label 1995 Twin Turbo V8 Ranger. Show all posts

Sunday, November 10, 2013

Ranger finishing touches

If you remember, our Ranger had a custom painted copper engine freshly installed recently. With the said we decided  that the old polished chrome valve covers just wouldn't cut it. Unfortunately, no one makes a copper valve cover for our truck or any sbf engine for that matter. But its okay we have a solution that's both cheap and matches our color perfectly. The cheap comes in because we're painting our old covers so it only costs about $25 in paint and takes roughly a day to complete (only a few hours of work, the rest is dry times) plus we can use our very same engine paint, so it matches perfectly.

Start by removing the covers and thoroughly cleaning them using a degreaser and then a good soapy water mix wash (must make sure all oil, oil vapor, grease and grime are off).

Next I used a 220 grit sand paper to rough the surface a bit and remove any imperfections and scratches from the covers. Afterward I repeated the wash to prep for painting. Just to be sure.

Now I started with painting the whole valve cover the copper color. This allowed me to make sure all the surface was covered in high temp paint, before moving on to the details. After allowing the copper to thoroughly dry. I got a touch-up paint stick from my local auto parts store and got to work. This is the difficult part so take your time and be patient. I will admit I'm not the best with a brush but the new style "marker" type touch up pens make it a lot easier for someone with my non-painting skill set to pull off a job well done.


The reason I coated the entire cover with copper instead of taping off the black was two fold. First taping off the covers details seemed nearly impossible. Second I wasn't sure the touch up paint wouldn't just burn off when the engine got hot, so  the copper acts as a heat barrier or so I hoped. And I was correct the copper did/has acts like a shield and no black has burned off.


I did not clear the cover because we wanted a flat sheen and even the satin clear seem to be to "shiny", but above you can see our finished product!

Tuesday, September 24, 2013

Custom made exhaust DIY and tech tips


One of the biggest and best bangs for you buck. Can be replacing that small size diameter exhaust pipe with a larger mandrel bent free flowing exhaust.

Why? Basically, by lowering the back pressure with a larger diameter exhaust you make it easier for the motor to expel the exhaust gases. Giving you more power and better mpg.

Can you go to large? That depends in a naturally aspirated car, the answer is yes. You need a certain amount of back pressure for the engine ton properly make torque. With out it you get a lot of noise but not much power. And in some cases even worse performance then the restrictive factory exhaust. Now if your talking turbo, then no the less exhaust back pressure the better. The reason is because the needed engine back pressure happens in the exhaust manifolds between turbo and engine. By removing the back pressure from turbo you allow the turbine to spin freely. That means faster boost and quicker response with less lag.

With the said, there are a couple ways to go about upgrading your exhaust. You can go the kit route, many cars have pre-bent pre-made kits from several companies. But what if you need something custom? Well, most exhaust shops can accommodate your needs but most (at least in our area) don't have mandrel benders. What is a mandrel bender? Its a methods of bending pipe that give a smooth rounded turn instead of the crimped bend made by regular benders. The other option is to make it your self like we did and I'll show/tell you how.

We start by ordering our bends, since we don't have the space or money for a mandrel bender. There are several places to order pipe from Jegs, Summit, Ebay, etc. Even companies like Flowmaster offer DIY kits now. We mapped out our exhaust and roughly guessed we'd need 4 u-bends and a j-bend.
To build, you'll need a basic mig or tig welder. A chop saw, cut-off wheel, hack or reciprocating saw (something to make your pipe cuts) a marker (preferably black) and some patience.

Start by bolting your flange on to your header(or turbo in our case) this allows proper fitment to
the flange. Then using your marker mark out the first section of pipe and where to cut. Always tach weld the pieces in place as you go and then seam weld after all are in place. This way if you need to change something you can just cut the small weld instead of the whole pipe. Make sure you are able to remove the section your mocking up. Once you get to a point where its nearly impossible, I recommend using a flange to break the section so it can be removed in the future with out hassle and be easily reinstalled later.


After the mockup. I seam weld the joints and then use a grinder to knock down any unsightly welds (if any) and use a high temp paint to thoroughly coat the pipes to resist rust and add some heat shielding. That's it you now have custom mandrel bent exhaust piping.


Thursday, September 19, 2013

Riding In The Turbo Ranger..... And Scaring The Camera Guy....


We promise to have better, longer videos up soon. Still doing some fine tuning and fixing little issues during the break in.

Tuesday, September 10, 2013

Our twin turbo ranger project comes to an end

Its been a little while for an update on our project truck, but happy to say it doesn't mean we haven't been working up a storm completing it!

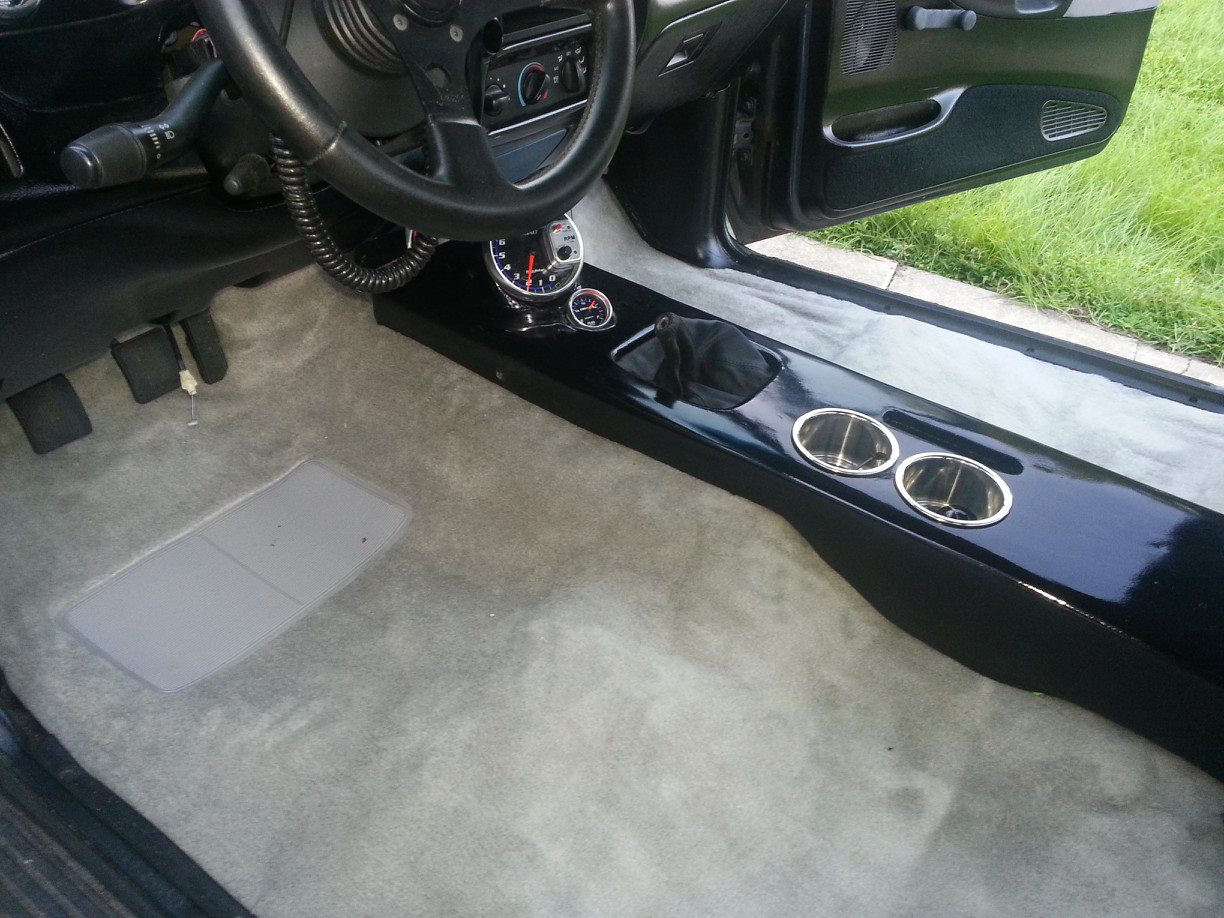
Since we last posted an update. The carpet has been installed and center console finished. Just waiting on the seats to be recovered to complete the interior.

The engine has been assembled and installed and is now being tuned. Best guess pre-dyno we're shooting for around 750hp on 93 octane and closer to 900hp on full boost and race gas.
here's some updated pics to sink your teeth into and more detailed pics and posts about the build to follow soon....

Monday, September 9, 2013

Friday, December 7, 2012

1995 Ranger Project - Engine Bay Clean Up


The majority of the rebuild process is cleaning up and polishing the details from the mock up process. Case in point the engine bay, while its functional its far from pretty. So, this post is detailing the steps taken to make this from pig sty to beauty queen, after all we have a beauty of a twin turbo V8
to drop in here.

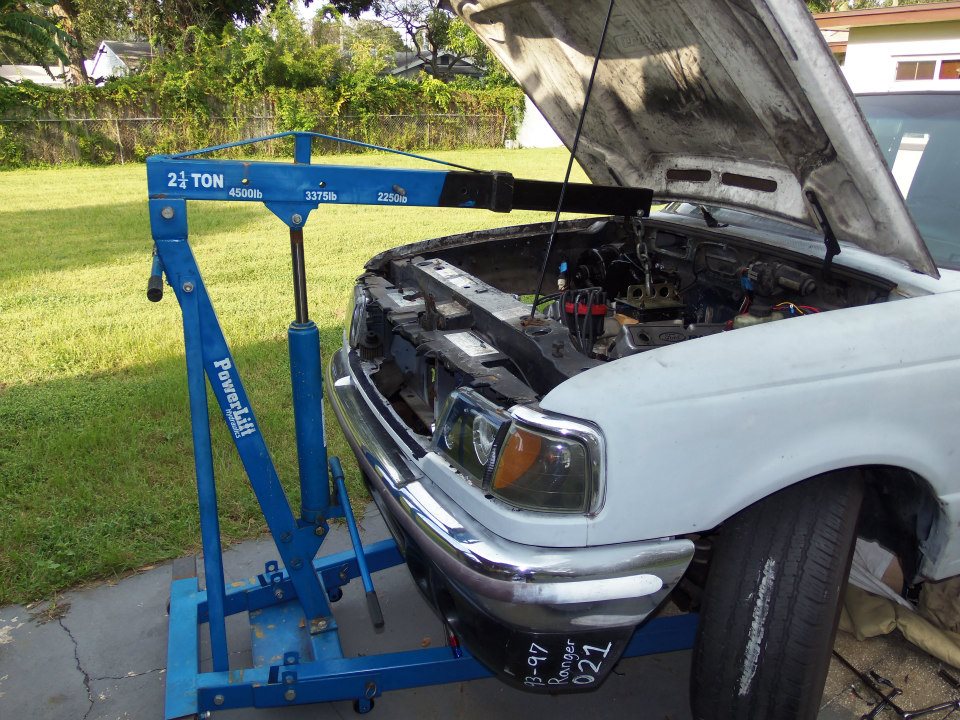
First step removing the motor so it can be clean and painted as well to match the new paint scheme for the truck and well as get some more mods to prep for the turbos. 4 bolts holding the motor to the mounts, a couple hoses and an engine puller make quick work of removing the engine. Now for easier removal and since we are prepping the bay for paint. We went ahead and also removed the radiator, steering arm and box, air conditioner housing and transmission. 


What we're left with is this greasy multi-colored rust hap hazard of an engine bay, but that will quickly be fixed. First step degreasing and pressure washing. This will be nasty and get crud everywhere around the car so do this somewhere that can be cleaned easily. Take time to tape off and remove anything that can suffer water damage and shouldn't be painted later. Once cleaned use a 80-100 grit sand paper to prep the frame for paint, this will remove any surface rust left and ensure a good bond for the paint. I recommend using a brake line fluid resistant paint, as that is some corrosive stuff and will ensure long lasting paint even after a spill or two. As for the rest of the engine bay. Go over it with 100-120 grit paper and remove any rust, stickers and feather out any deep scratches. Extra prep time here will ensure a better outcome then rushing though to the painting process.


The paint process should be done in a 2 step process. First layer is a rust sealer/primer to stop any further damage, followed by your color of choice. We are going with 2 colors satin black for the frame and the rest flat black. Like before when painting stay 6-12 away using several light edge to edge passes. Allowing plenty of dry time in between each pass. 

With the final color on, we put the newly painted engine back in
(see our other posts for the engine clean up and paint)


Tuesday, December 4, 2012

1995 Ranger Project - Center Console 2.0 Build

While our project Ranger already had a console we built in a previous post, it was basic and temporary. The position of the gauges were a little awkward for the driver and the shape and finish need some improvements. So we began from scratch making a new sleeker, more driver friendly version. Utilizing less gauges and more shapely style to match the curves around the rest of the cabin.


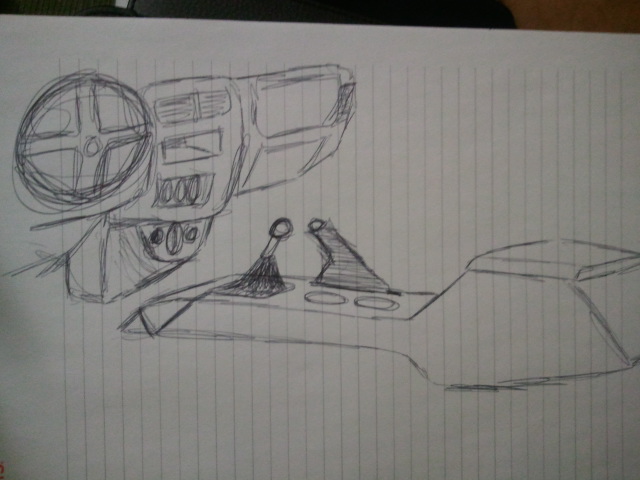
We started by going back to the drawing board literally. After several ideas of what we wanted and didn't want and what we liked and didn't like about the first console. We came up with basic sketch of what the new one should resemble.


Once decided upon we used the old console as a template so we could match the floor with out making another cardboard cut out like in the previous post. Using 1/2 MDF and a jig saw we mocked up the rough shape of the new console. This one will only be using two gauges and no shift light, so the width could be reduced to allow the seats to sit in further making more room for the seat belts. To sink the gauges into the console, I first used a whole saw bit to drill a 45 degree angle for optimum driver line of sight. then used a piece of 1/16 thick steel to shape the pockets for them to sit in. Tip, you can use the gauge itself to form the circle in the steel so its a perfect fit. Simply start by holding the steel on to the housing and roll the metal around the gauge until you overlap the starting position. This will be a loose but close fit. You'll just need to hand roll the tightness into it from here.

 We assembled the pieces using 5/8 counter sunk wood screws to allow a smooth finish.
Then cut out our rough openings with the jigsaw and applied a light but generous coat
of filler to start roughing out the shape.


Using some painters tape to cover any gaps on the inside will stop the filler from filling in unwanted areas. From here allow ample dry time, and let the sanding fun begin. Using a 60-80 grit paper will speed up the process but be careful not to take to much off MDF is easy to sand and can easily be overworked. 

With the first round of sanding completed check for fitment and and any clearance issues unforeseen.


With fitment checked time to add another coat of filler if needed.
Ours only need a little coat to fill in some small areas so we got lucky.
This time use a light 100-120 grit paper so smooth everything and
start to get the final shape.


Check fitment again and if all is well like ours, its ready to be sealed and painted! Next we will make the inserts and cup holders to finish this piece and do the final install.


1995 Ranger Project - Flex-A-Lite Fan Install

Fans are one of the most important part of this truck since we are using a small radiator to save space. We needed hi-output with minimal room being used. To solve this equation we got a set of flex-a-lite dual fans (originally made for a Tundra) and modified the trucks front radiator support to accommodate.  As you can see its a snug fit but they do work perfectly, we just needed to clean up the area and remove some excess metal to allow maximum air flow to the fans and radiator.


While the engine was removed and before we painted, we marked the area not being used by the core support and hood latch to remove as much material as possible. We didn't want anything restricting out much needed cool air flow or getting in the way of our massive innercooler also being added in the area. Using a simple silver metal marker we marked it out and used a combination of diegrinder and air saw to remove the metal leaving a small lip all the way around. This lip was left on purpose, this way we can roll it around the remaining metal giving a smooth un-jagged finish that won't cause any cuts or issues of fraying later.


We were able to remove a large amount of metal with out effecting anything and we went ahead and removed the old radiator mounts since the were no longer needed just to save weight and clean up the engine bay a little more. We also found a couple rust holes in the support that we went ahead and patched while the area was easily accessible. 

The finished result was a perfectly fitting hi-flow minimal room set of fans that will
keep this truck cool and any temperature.